Dell Monitor USB ports not working can be such a pain. Without them, you won’t be able to connect your peripherals, and this makes it difficult for you to use your system.
Luckily, the USB port problems are not always a tough fix. In fact, it could be a small problem that would take a few minutes to fix. Go through these articles to learn about all the right fixes to apply to get your Dell Monitor USB ports working again.
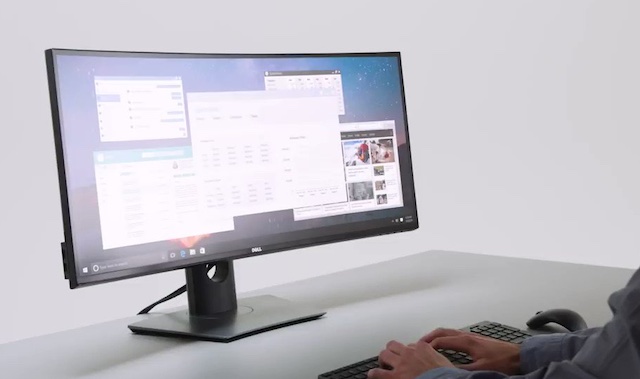
Dell Monitor USB Ports Not Working: How to Fix
1. Rule Out Other Alternatives
First, we’re going to start with the obvious. Plug the device into a different USB port to see if the problem persists. This should tell you if it is a problem that comes from a single USB port or if all USB ports are affected.
You should also check the cable as well as the port on the peripheral you want to plugin. Make sure the port, as well as the cable, are in good condition. You can try switching cables or devices to narrow down the problem.
2. Ensure You’re Using the Right Port
It is handy to have knowledge of the functionality of the different types of USB ports on your computer. For example, some USB Type-C ports could be designated as data-only, which means you can only transfer data through but it cannot draw power. Meaning others could be for charging but won’t allow for file transfer. In addition, some ports might allow for USB Type-C cables and would require the use of converters.
3. Clean Out Debris
Just like smartphone charging ports, computer USB ports can be blocked with debris or grime. This prevents the cable from making a proper connection with the port. If you notice that the cable doesn’t plug all the way, it could be an indication that your computer needs some cleaning. You will need a flashlight as well as a toothpick.
Check if you can see dust or dirt in the port. Using the toothpick gently free up anything stuck inside.
4. Restart the Computer and Monitor
It’s possible that you’re just dealing with a computer glitch that can be fixed by simply restarting the computer. This internal error could occur when the computer’s RAM is used near its full capacity or you plugged in the cable while the computer is booting.
To fix;
For Windows
- Click the Start menu > Power button > Restart.
For Mac
- Click Apple > Restart.
5. Troubleshoot the USB Input to your System
If you’re still not able to fix the USB port, then you might want to check the USB Root Hub properties of your computer to confirm that Windows is not turning off the port to save power.
- Open Device Manager, and click the arrow next to USB Serial Bus Controllers
- At the bottom of the list will be about 2 to 10 USB Root Hubs
- Right-click each hub, click Properties on the drop-down list, then click the Power Management Tab
- Navigate to the “Allow the computer to turn off this device to save power box. Uncheck the box.
- Repeat this process on all USB Root hubs
- Reboot the computer and check to see if the USB Ports function properly.
6. Update Your System
The problem might due to outdated drivers on your computer. You need to check for updates consistently for your system to run perfectly. To check for driver updates, follow the steps below
For Windows
- Go to Settings > Update & Security > Windows Update and click the Check for updates button
For Mac
- Open System Preferences > Software Updates to scan for updates.
7. Update your USB driver
You should update the USB driver as well. There are two ways to update your USB driver; manually nad automatically.
To update your USB driver manually, simply visit the Dell website and search for the latest driver for your USB. Make sure the driver you go for is compatible with the exact model number of your hardware, and your version of Windows
To update your USB driver automatically, you might want to use a software known as Driver Easy. This is a great option if you don’t have the computer skills to update your driver manually. With this option, you won’t have to know exactly the model number of your hardware or your version of windows. There is also no risk of installing the wrong driver. To use Driver Easy, follow the steps below
- Download and Install Driver Easy
- Run Diver Easy, and click Scan Now
- Driver Easy will scan your computer and detect any outdated or problem drivers
- Click Update next to any flagged devices. This will automatically download the correct version of their drivers, then you can install them manually.
- You can also choose to click Update All to automatically download and install them all automatically (You will need to upgrade to a Pro account for this).
- Once installed, restart your computer and check if the USB port is working properly.
8. Take it to a Technician
IF everything fails, then you might want to take the computer or laptop to a technician for inspection.
What types of USB ports are in use?
There are several types of USB ports in use. These options include USB 1.x, USB 3.0, USB 3.0, USB 3.2 Gen 1, USB 3.2 Gen-2, and USB Type-C. One of the biggest differences in these USB port types is the speed of the data rate. The USB 1.x has a data rate of 12 Mb/s on the high end while the USB 3.2 Gen 2 can attain speeds of up to 40 Gbps.
How to run a Dell Diagnostic test on your USB port
- Go to the Dell PC Diagnostic page.
- Click the Advanced tab.
- Click Hardware.
- Scroll through the options on the right-hand side of the windows to locate the listing for USB
- Select USB.
- Click Run Diagnostics.
- Agree to Terms and Conditions.
- Follow the instructions to test each USB port.
What Operating Systems support USB ports?
USB ports are supported by all operating systems. From Linux, Mac, to Windows.
