What would life be without color? All the positive emotions and liveliness they bring would all be almost impossible to recreate. There’s also the beauty of having something other than black come out of the printer. Many of us love the fact that we have bright colors to choose from. This is why we choose printers that can print in color.
But all of that means nothing if your printer for some reason stops printing in color. This article will focus on how to solve that problem. It will also discuss why the issue comes up in the first place.
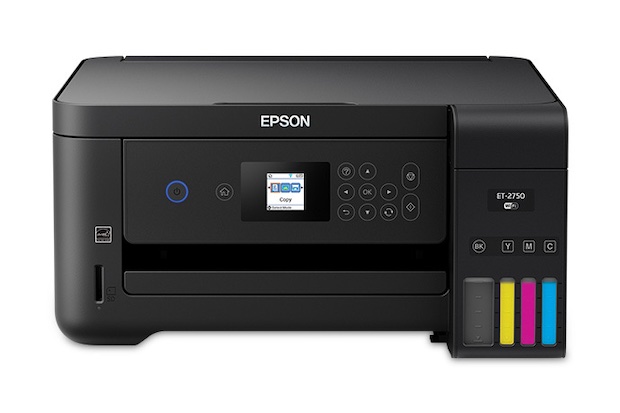
Epson ET 2750 Not Printing Color? Here Are The Likely Causes
The ink cartridge may be unsuitable: Things that don’t suit a device hardly work well with it. That may explain why your printer isn’t printing color. Black may be the most popular color for printer users, but printing in color is the real deal. If your ink cartridge is a remanufactured one, you may have made a big mistake.
Epson printers are made to work well with only genuine Epson ink cartridges. Their high price is a major income stream for the company, the same as it is for other printer makers. That’s why the more you update the printer software, the tighter the security features preventing you from using unapproved ink cartridges becomes. It’s a game you can hardly win.
The nozzles could be blocked: Those tiny cone-shaped indents beneath the ink cartridges in your printer are what take ink to the printhead. They may be clogged. I’m sure you can guess what they might be clogged with. If you picked dried ink, you’re correct. Ink residue stays in the nozzles each time you finish printing. After many printing cycles, they dry and pile up in and sometimes on the nozzle. This ends up blocking the ink flow. There’s nothing anyone can do to prevent it. But there is a thing or two you can do to remove it from the nozzle. Let’s save that for later.
Your ink may be dried up: If you haven’t used your printer in a long while or you only use it occasionally, the ink in the cartridge may have dried up. Time and weather conditions affect the good old ink and cause it to dry up when you let it sit for too long. Many people have little or no patience. The same thing goes for your precious cyan, magenta, and yellow ink. You may also have opened the covering protecting the ink cartridge without inserting it into the printer. That can let air get into it and dry it out. Ink cartridges should either be in sealed bags or closed printers. Anything outside of that is trouble.
Low levels of ink: Normally, your Epson printer will alert you to low ink levels. You’ll get a warning on your computer that you’re about to run out of ink in one cartridge or another. That gives you a heads up and allows you to fetch a new ink cartridge. But for some reason, that warning doesn’t always work. When there is little or no colored ink available, your printer will not print colored documents and pictures. There’s nothing to do but fix that situation. How do you do that in a way that addresses all the possible causes of the problem?
Epson ET 2750 Not Printing Color: How to Fix It
1. Get new ink cartridges
Buying new ink cartridges can solve the problem unsuitable ones bring. No need to worry about whether you have good quality ink cartridge in your printer, so long as you get it from Epson. Remanufactured ink cartridges have no place in this step.
Getting new, genuine ink cartridges also solves the problem of dried ink cartridges. We would expect that the ones you buy will be fresh, new, and sealed. Still, you’ll need to be careful to keep them that way and not store any extra ink supplies for too long.
2. Turn off the printer and turn it on again
Another thing you could try is to restart your printer. It may have only had a glitch that made it stop printing color. In that case, simply switching off and on again can resolve the issue. Think of it as a way of resetting your device and making it forget any mistakes it has made and how miserable it made you feel. Having a printer that doesn’t print color can be annoying. But this one tip can get you out of that sad space in a heartbeat. Go ahead and try it.
3. Change your printer settings
Printer settings are a big deal. They tell the printer what to print and how to print it. A quick look into your printer settings can change everything.
Start by opening the printer software on your computer. Find the print dialog box and choose “Printer Settings”. Click on the “Basic settings” tab. Under that section, you will see “Color” on the left and “Black” on the right. The “Color” option should be selected if you want to print in color.
Click on “Print” at the bottom of the dialog box. That will start the test printing process and also save your settings. You should start getting the color pictures and documents at this point. If you don’t, try the next step.
4. Clean the nozzles and ink cartridge
Take out the ink cartridges and poke a pin into the tiny holes on them. Do it in a way that you remove any dried ink or other debris that may be in there. You are clearing the way for ink to flow out of the ink cartridges and into the nozzle, which will take it to the printhead. You may have to do it many times to get it all out.
You should also clean the nozzles. Do this: Take a little distilled water or cleaning liquid and pour it into a plastic syringe. Squeeze a few drops of it into the nozzles one after the other. This will wash away dried ink from them. Wipe any liquid that gets spilled in the process. Next, switch on the printer and reinsert the ink cartridges. The printer will prepare to accept the ink cartridges. As soon as it does that, test print 6-8 pages of any document. Your printer should begin printing normally.
If for some reason none of this works, the best thing to do is contact your service center. They will give you further instructions.


