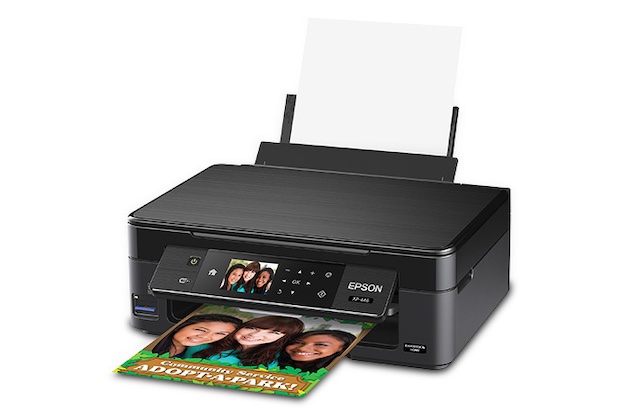
If you use the Epson XP 446 printer, you don’t need to be told how good it is. That sleek, portable beauty that can print crisp, clear pictures and documents is a fantastic device. It is a must-have for any home or office.
But this article is not going to begin to list the many features of this appliance. We’ll focus on a major problem some owners of this device have. It has to do with not being unable to do the one thing every printer should do – print.
Epson XP 446 Not Printing? Here Are The Likely Causes!
The print head may need cleaning: Clean things don’t just look good; they work just as good. This is especially true when it comes to your printer. All that time spent creating document after document and picture after picture does many things to your printhead. It gets layer after layer of ink on it. Those layers dry on it and more layers are added. This entire process is repeated over and over again over months and years and the printhead gets very dirty.
An update of your drivers may be required: When one piece of software is not compatible with another and you try to use them together, what happens? You fail. It happens with many different devices. You need software that is in sync with another one if you want to achieve anything trying to use them together. When you don’t update your print drivers, you’re like a person trying to force one outdated software to work with another updated one. It hardly works out no matter how often you try.
The ink cartridges could be wrongly fixed: This mistake can be easily made. When you don’t put the ink cartridges in properly, you ruin your chances of printing. The reason is simple. If the ink cartridge doesn’t make full contact with the printhead, you can’t print anything. It’s just like having a poorly fitted car battery. The battery won’t power the car and so starting the moving process will be impossible. If your ink cartridges are not well fixed, the one thing that you need to even think of printing, ink, will not flow to the printhead.
You may have bought an incompatible ink cartridge: This usually happens when you go for remanufactured ink cartridges. Many printer makers update the software on their devices – Epson included. It is not a terrible idea to update your printer software since doing that keeps you safe from security risks. But keeping up with the latest updates makes it more likely that your remanufactured ink cartridge will be unable to work with your printer. It is also important to note that these type of ink cartridges may have other defects that prevent them from working with your printer.
Epson XP 446 Not Printing: How to Fix
1. Restart the printer
Doing this will erase errors and give your appliance a clean slate on which to operate. Just turning something off and then on again is an easy way to solve problems. As it were, the printer forgets all that is wrong with it and prepares to work for you like nothing ever happened. You can disconnect the printer from the power outlet while doing this and try to print after a while.
2. Do an update of your drivers
The act of printing requires all the components on your printer to work normally. It also demands that the printing software works with the hardware. An update of your printer drivers makes this possible. Head to https://epson.com/Support and enter your Epson printer model number in the search section and click on the search button. Look for your model number in the search results below and click on it. You will be redirected to a page that’ll show you all the recommended drivers needed for your printer to work well.
3. Clean the print head of your device
One way to do this is to use an eyedropper or a plastic syringe. Start by removing the ink cartridges and exposing the printhead carriage. You will find some dark cone-shaped indents that take the ink in the cartridge to the printhead. Put some distilled water or some printhead cleaner, into the eyedropper or plastic syringe. Squeeze it gently over the indents or ports that you think are blocked.
Pro tip: Look at the bottom of the ink port and take note of the leftover color to know which port supplies the printhead with which color.
Since you can’t print any color at all, let a few drops fall into each port. Put the ink cartridges back in place and let the printer prepare itself for the new cartridge. Don’t forget to wipe any liquid dripping from the printer. Now, print 8 pages of any text-only document to test.
4. Remove and reinsert the ink cartridge
This is a way of making sure your ink cartridge is fixed properly. Open the printer and take out the cartridges without powering off the printer. Carefully remove each of the ink cartridges and take a look at the chip on those cartridges. If they are clean, return them to their positions. If they are not clean, wipe them gently with a clean, soft piece of cloth dampened with some distilled water. Put the ink cartridges back into the printer and try printing.
5. Change the ink cartridge
Sometimes, all the cleaning in the world won’t fix the problem of a printer that won’t print. Even after taking out the ink cartridge and noticing that it is full, it still won’t supply ink to the printhead and produce those documents. If that happens, the best option is to change the ink cartridge. Make sure you go for genuine ones from Epson. That will spare you many of the problems that can come with buying remanufactured ink cartridges.
These tips should get your printer working. If for any reason it doesn’t, contact the nearest service center for further assistance. If you need to get a new printer, by all means, do so.


