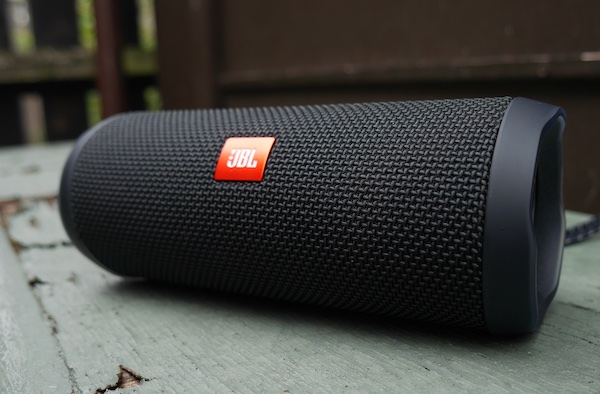
If your JBL Flip 4 is not charging, there are a few things you can do to fix the problem. You’ll learn how to make it charge by trying out a few techniques outlined in this guide.
JBL Flip 4 Not Charging: Possible Causes & Fixes
Although JBL speakers are great devices, they can develop faults that make them stop charging. Below are some reasons your JBL speaker stopped charging and how to fix it.
1. Faulty Battery
If the power of your JBL Flip 4 device suddenly drains out and the product would not charge, then the problem may be with the battery. Overheating can kill your battery and make it unusable for your device.
To replace the battery
First, use the plastic opening tool by inserting it between the cover and the rubber spine. Insert it in the crack between them. Starting with the area far from the buttons (volume and Bluetooth), remove the cover.
When removing the cover, it will make a snapping sound from the six clips; an indication that your effort was successful. It is worthy of note that removing the clips should be carried out with caution to avoid damage to the clips.
Remove one end of the rubber with your thumb to bring out the battery. Since the speakers are magnetic, keep them away from other electronics.
2. Abnormal temperature
Check to ensure that the speaker has not been kept in abnormal temperatures such as under the sun or close to a source of heat. The heat may have affected the battery. If that is the case, you can replace the battery. Aside from heat, your battery can also become faulty due to regular cycles of use.
3. Faulty charging port
A faulty charging port may be the reason your JBL Flip 4 is not charging. It may be as a result of some loose electrical connections, and you need to replace the charging port to use the charger again. There are a few ways to go about changing the charging port if it is faulty.
Firstly, use the plastic opening tool to remove the cover. Place it in the racks between the cover and the rubber spine. Always pry it off starting from the side without the power, volume, and Bluetooth buttons.
Don’t get scared if you hear a snapping sound because it is a sign that the cover is prying-off. Then use your thumb to remove the cover. Do it carefully to avoid causing any damage to it. If you have done that, there are still a few more steps to go. Remove the screws that fasten the rubber spine to the speaker.
Release the clips that hold the central area of the spine using the plastic opening tool, then use your thumb to remove one side of the rubber spine to pull it off. Perhaps this might be the most difficult part because it entails handling other parts that are not faulty. Now that you can easily remove the 9 mm screws that fasten the charging port, remove the USB casing with your hands.
The end-cap will be removed when you loosen the 9 mm Philips screw. Find and remove the gray-colored USB port from the speaker. You don’t have to fully detach it, just pull it from the position to where you can closely examine it. Ensure that the attachment to the wire remains intact. The USB port is held by a small white plug that is fastened to the circuit board; remove the USB port gently from the speaker.
Detach screws fastening them to the circuit board, and then use the plastic opening tool to forcefully separate them from the board. You’ll need to apply some force since it is glued together. You can also remove the wires underneath the faulty USB charging port.
4. Faulty cable wires
If your battery or charging port is not the problem, the cable wires may be. They connect the device with a power source and cannot work if they are damaged. In that case, trying another cable may help. Your cable wire can also be tested with another JBL Flip 4 to confirm if it works.
