The Roomba could easily turn a 2-hour chore into a 30-minute chore but for it to do its thing and save you a lot of time, it needs to be fully charged. If you plugged in your Roomba overnight and woke up to find its battery levels are still low, this could be seriously annoying.
Roomba Not Charging on Dock? Try These Tips to Fix It
Depending on the age of the Roomba, the fix could be as easy as changing the outlet or cleaning the charging contacts. It could also require a more serious fix like replacing some parts or going for an entirely new Roomba. Below, we have discussed the problems in the detail and the best fixes to apply.
1. Reset the Device
Once you’re sure that the outlet is working, then you will have to factory reset the device. The inability of the device to hold a charge could be due to a glitch or a software bug. With a hard reset, you should be able to fix it. The way to do this on your Roomba device will depend on the model you have. With Wi-Fi-enabled models, you can reset them straight from the app. You can follow these instructions and models here to reset the device.
- s Series/i Series: At the same time, press Home+Spot Clean+CLEAN buttons until the CLEAN button light starts flashing.
- e Series Roomba: At the same time, press Home+Spot Clean+CLEAN buttons for 20 seconds.
- 900 Series Roomba: At the same time, press Dock+Spot Clean+CLEAN buttons down until all the LEDs activate.
- Wi-Fi-connected 600 & 800 Series Robots: At the same time, press Dock+Spot Clean+CLEAN buttons down until you hear a beep.
- Roomba Combo: Right under the lid, you will find the reset button next to the power button. Press and hold the Reset button for at least 10 seconds.
If you’re using the latest models of these models, you should confirm the reset method from your user’s manuals.
2. Cleaning the Charging Contacts
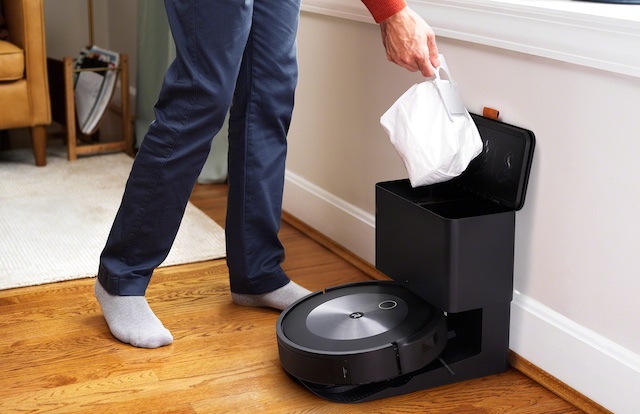
While in operation, the Roomba can pick up a lot of dirt and debris especially if you’re using it on an extremely dirty floor. These devices are designed to be low to the ground and the debris could get into the device itself as it is cleaning. The charging contact of the Roomba is at the bottom for charging at their base. If this gets dirty or clogged with debris, electricity won’t be able to pass through. The charging base will also get dirty with continuous use and will have to be cleaned regularly to ensure the Roomba gets charged.
While most owners are looking towards the Roombas as entirely hands-free machines, they do require a couple of touches and regular maintenance like your typical vacuum cleaner. If the Roomba is not charging, then you should clean the charging contacts (with anything but a damp cloth) and try charging again. This should resolve the problem, but it if doesn’t, then you might have to take the vacuum to the local repair shop to check for hardware problems.
3. Replaced the Battery
Take note of the performance of the Roomba before you noticed it won’t charge when plugged in. Did the Roomba only charge partially or does it drain too fast? If you notice that the Roomba does not work as it used to even after cleaning the charging contacts, resetting the Roomba, or changing the outlet, then you might be due for a battery replacement.
If you’re using an older model Roomba, there are chances that you performing the fixes above won’t work, this is because the lithium-ion battery can hold for many cycles but will eventually be unable to hold a charge. The battery life will begin to deteriorate with continuous use, especially if you use the device heavily. Rather than replacing the battery, you could go for newer models that come with better features. Still, your decision will depend on your budget. A great battery will cost significantly less than a replacement vacuum cleaner.
4. Fix the Battery Position
If you’re fond of moving your Roomba from one place to the other, there are chances you could have knocked it against something. If this is the case, it could be possible that the batteries got displaced from their position due to the incident. Now, this is not a common occurrence but it is likely if you’re not careful. It is also something worth checking out.
Try to fix the battery position by opening the 5 screws on the base of the Roomba. Open the battery compartment and ensure they are in place. Put the screws back and plug in the Roomba.
Before doing this, check your warranty to see if opening the vacuum will void the warranty. If so, then you might want to take it to a professional to help you get it done. Before doing that, you should try the other fixes, so if you find that the batteries are in the right position, you could get the Roomba repaired from there.
5. Claim Warranty
Before you think about taking it to a professional for repair, you should try to claim your Roomba warranty. If the device is still within the warranty period, you could call customer support. You might want to check the community forums to see if there is someone that has fixed the problem in some other way.
If not, then claiming the warranty is the best solution. You could get a replacement or the company will require that you send it over to get fixed. In some cases, you won’t have to spend extra but that will depend on how long you’ve been using the device.
Final Thoughts
With these fixes, you can get your Roomba to start charging again. You can get started by checking the outlet, resetting the device, and cleaning the charging base. If none of these works, then you might want to consider a battery change or a full replacement. You should also check if your warranty is applicable.


