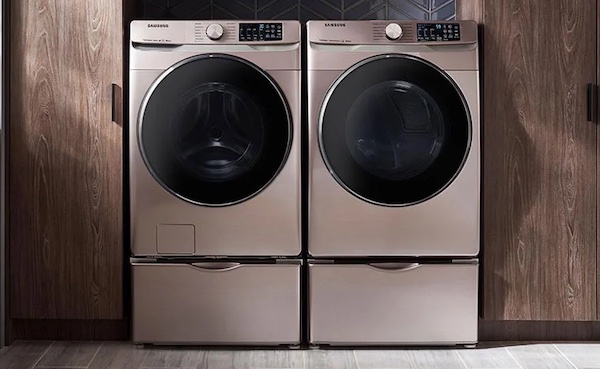
According to its teeming users, the Samsung dryer is one of the best tools for laundry tasks. Asides from having high-end features, these products offer decent periods of service life.
Although the Samsung dryer is well-designed, some units might have a few issues. One of the most troubling issues involves the device not starting even when turned on. However, there are various ways to deal with this problem.
Do you have a Samsung dryer that won’t start? If yes, you can check out our article for some easy ways to get things on track.

Samsung Dryer Not Starting: Possible Fixes
Now here are some of the best ways to handle a Samsung dryer that might not start. But before using our advice, we suggest that you check the manual of your dryer for more advice. If you can’t find the hard copy of the document, download the online version or visit the Samsung website.
1. Check the Power Source
If your dryer is not connected to a reliable power supply, the device might not get started. After all, Samsung dryers need the energy to perform tasks.
When it comes to power issues, you can blame anything from a bad wall outlet to faulty wires. For this reason, you will have to perform a few checks before applying the right solutions.
You can start by removing the plug of your dryer and inserting another plug into the same power source. If the newly plugged-in device remains off, then you will have to get a new socket for your dryer or possibly get the old one fixed.
2. Get a New Plug
Sometimes the problem might not be with the outlet but the plug itself. For this reason, it is advised that you look around the dryer for torn, burnt, or frayed wires. If you notice any damage, then you can call for a certified technician.
3. Reset Your Dryer
Sometimes, the solution to your dryer problem can come from a quick reset. To use this idea, simply pull out the plug from the wall outlet. Then wait for 1 – 5 minutes for the electric charge to clear out. After the time passes, insert the plug into the outlet and turn on the dryer.
4. Ensure the Door is Well Latched
Do the lights come on in your non-working Samsung dryer? If yes, then you might have to deal with its door before the device can start. Although it looks like a problem, this feature keeps users safe from accidents.
Make sure the door is well locked and remove any item that might disturb its closure. Supposing the dryer remains inactive, you might have to replace the door latch of your dryer.
5. Fix Jammed Start Buttons
Press the Start button on your Samsung dryer. If the dryer does not create any sound, then you might have found the source of the non-working Samsung dryer.
To get a jammed button fixed, look at the display of your washer. Assuming, you find codes such as bE, bE2, bC2, 6E, 6E2, 6C2, perform a quick reset to get things sorted out. With any luck, this solution will get your dryer up and running.
But if the button remains jammed, reach out to the Samsung Centre for assistance. From this service, you can get a certified technician to fix your dryer.
6. Change the Broken Idler Pulley
The idler pulley provides the required tension needed to keep the drum turning. But as time passes, the pulley will start to wear and get damaged. As a result, the Samsung dryer will not be able to start.
Replacing the pulley is the best way to handle this issue. Although the idea looks straightforward, it would be ideal if you left the job for a professional.
7. Fix the Belt
As soon as the belt on your dryer gets frayed, the machine might make some noise without spinning your laundry. But instead of worrying about the best way to fix this issue, you will have to install a new belt.
If you have decent DIY experience, you can perform this task with the following steps.
- Unplug the dryer from the wall and remove the two screws from the back.
- Look at the drum for the belt. If you can’t find it, continue with the following steps
- Head to the exhaust vent and remove the screws.
- Check if the pulley moves freely
- Remove the screws at the top of the control panel
- Remove two screws behind the control panel
- Remove other screws from the plastic piece
- Take out the screws from the main relay board
- Pull the relay board from the side of the panel
- Remove the two plugs that connect the board with the control panel
- Pull the control panel from the front of the dryer
- Remove the screw from the spot where you removed the control panel
- Take out all the screws holding the front panel of the dryer
- Detach the door switch from the panel
- Detach the drum light
- Remove the next set of screws on the upper part of the front panel
- Unclip the wires at the front panel
- Unhook the moisture sensor and remove the screw at the other side of the dryer
- Remove all the screws from the panel that covers the drum
- Take out the cover to expose the drum
- Get the new belt and slip it around the drum
- Reassemble the washing machine
- Go to the back of the machine and connect the belt to the idler and motor pulleys
- Install the cover for the exhaust vents
- Connect the dryer to the power source
- Test the dryer
Extra Advice for Fixing a Samsung Dryer
Before working on your Samsung dryer, make sure you understand the steps for getting it fixed. After all, any further damage (from the repairs) can nullify any warranty on the product. So, instead of grabbing your tools, you can use the services of a certified technician.


