In the world of computers, Sony laptops serve as some of the best PCs in the market. Asides from being sturdy, these products offer great features including a great camera.
Although the camera is well-designed, it tends to go off from time to time. If you have this problem, then you can check this article for the best ways to fix it.
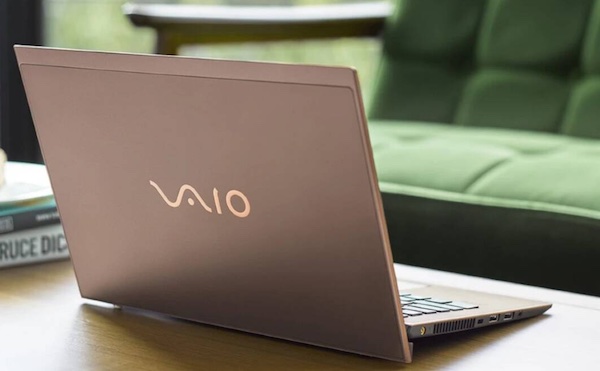
Sony Laptop Camera Not Working: DIY Fixes
Here are the best ways to fix a faulty camera on a Sony laptop. But before using our steps, we advise that you check the owner’s manual for extra advice.
1. Try a Power Reboot
Before heading to the repair store, try a power reboot on your computer. When it comes down to it, this method is easy to use and does not require any technical skills.
To get started, close all the apps on the PC. Then remove the plug from the power outlet. After a few moments, plug the PC back into its power source and check if the camera works.
2. Choose a Camera
If a reboot does not work with your Sony laptop, then it might help if you adjust the settings on its camera. To use this method, check the following lines:-
- Turn on the camera
- Reset the camera
- Switch on the camera
- Open Google Meet and select Sony Imaging Edge as your camera
- Launch OBS and ensure that it’s working
3. Use System Restore
Have you tried to use the System Restore to adjust your Sony Laptop camera? If not, then you might have missed one of the easiest hacks for dealing with the PC.
- Click the Start tab on your PC
- Input System Restore into the Search bar
- Click on the System Restore
- Choose the number that represents the date and time before the laptop issue started.
- Allow the PC to reboot and test the camera
4. Get a New Driver
Although getting a driver might not be difficult, it can help improve the services offered by laptops. You can start by going to the Device Manager and removing the webcam driver. Then download the latest drivers from the Sony support site
Allow the drivers to be properly installed and wait for the laptop to reboot. Here are the best steps for using this hack:
- Click the Start button
- Select the Control Panel
- Click System and Maintenance – Device Manager
- Expand the Device Manager option by clicking the “+” option.
- Select the Sony Visual Communication Camera from the list
- Select Action – Uninstall – OK
- Go to the Device Manager- Action – Scan for hardware changes
- Wait for the scanning to end
- Click Action – Update Driver Software – Search Automatically for Updated Driver
5. Enable the Camera
If your Sony laptop camera still has issues, then you should think about turning on the camera. Luckily, this method involves the following few steps:
- Click the Start button
- Select the Control Panel
- Click System and Maintenance – Device Manager
- Expand the Device Manager option by clicking the “+” option.
- Select the Sony Visual Communication Camera from the list
- Select Action and Enable
7. Time for Format and Recovery
Are you still looking for a way to fix your Sony laptop camera? If yes, then you can try to format its operating system and restore it to its original state. But the method of performing this hack depends on the features offered by the laptop.
If your Sony laptop model has the Vaio Recovery Centre:
- Click on Start – Help and Support – Backup and Recovery
- Open the Launch VAIO Recovery Centre – Choose a Program – Restore C Drive
- Select Start – Skip – Next – ” I understand “
- Choose Start to begin the format and recovery process
- End the process by clicking “Finish”
If your Sony laptop model has
Vaio Care:
- Select the Start – All Programs
- Choose the Vaio Care folder and pick Vaio Care
- Click on Recovery & Restore
- Choose Recovery from the left pane
- Pick Recover Computer
- Select Yes
- Select ” Yes, I’d like to Start Rescue Now”
- Pick Factory Condition OR Custom Recovery – Remove Recovery Contents OR Custom Recovery C: Drive Only
- Click “Next”
- Choose Restart
8. Change Your Camera App Settings
Sometimes your Camera app settings might be the cause of your webcam problem. To make it work better, you will have to grant the app access to use the in-built webcam.
- Press the Start button + Q key
- Choose Apps – Camera
- Point the cursor to the upper right corner of the screen
- Select Settings – Permissions – Webcam and Microphone – ON
9. Reach Out to the Sony Customer Service
If you still have issues with your camera, it would help if you contacted Sony Customer service for technical support. Asides from providing the best tips for using the webcam, the service also assists with repairs. You can reach this service via email, telephone, or the Support by Sony app.
10. Or Get a New Laptop
If the camera does not still work, then you might have to give up with repairs and pick a new Sony laptop. You can get this product from any trusted electronics store or online marketplace. But if you are not ready for a new laptop, you could pick a fairly used version at a lesser price.
